

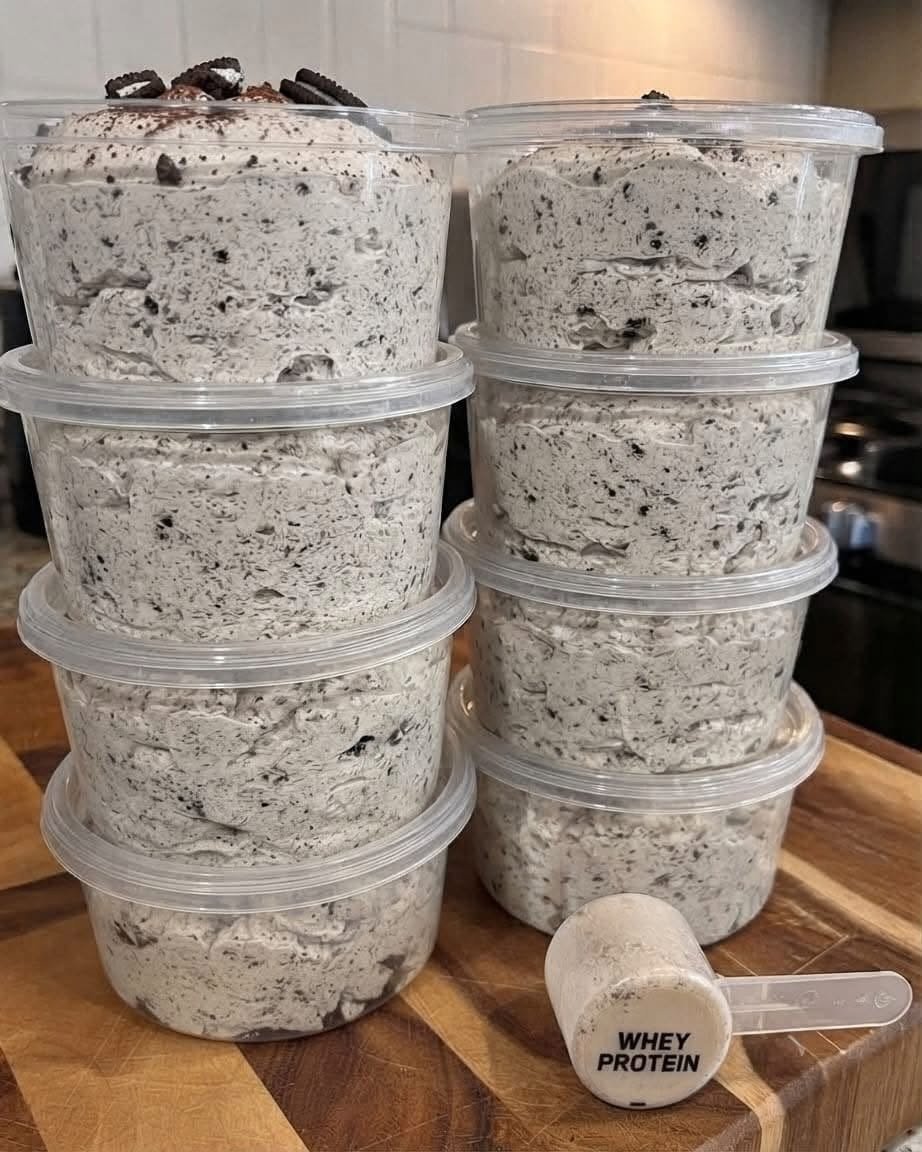
Prep time: 10 minutes | Chilling time: 30–60 minutes | Yield: 4 meal prep containers
Ingredients
-
Base: 2 cups plain, non-fat or 5% Greek yogurt (for thickness and a tangy cheesecake vibe)
-
Protein Boost: 2 scoops (~60g) Vanilla or Cookies & Cream Whey Protein Powder
-
Texture & Thickness: 2 tbsp instant sugar-free cheesecake pudding mix (Note: You can swap this for vanilla or white chocolate flavors)
-
The "Fluff" Factor: 1 cup sugar-free whipped topping (like Cool Whip), thawed
-
The Crunch: 6–8 zero-sugar chocolate sandwich cookies (Oreo-style), crushed
-
Optional Splash: 1–2 tbsp unsweetened almond milk (only if the mixture gets too thick to mix)
👩🍳 Step-by-Step Instructions
-
Prep the Cookies: Place the zero-sugar chocolate sandwich cookies into a zip-top bag and crush them with a rolling pin or heavy spoon. Leave some larger chunks for texture, and set aside a small handful for topping.
-
Combine the Base: In a large mixing bowl, whisk together the Greek yogurt, whey protein powder, and instant sugar-free pudding mix until completely smooth and free of protein clumps.
-
Fold in the Fluff: Gently fold in the sugar-free whipped topping using a spatula. Mix slowly so you don't deflate the air, keeping the texture light and cloud-like.
-
Add the Crunch: Fold in the majority of your crushed cookie crumbs until evenly distributed.
-
Portion & Chill: Divide the mixture evenly into 4 small meal prep containers. Top each container with the remaining cookie crumbs.
-
Set: Pop them in the fridge for at least 30–60 minutes to let the pudding mix fully thicken and soften the cookies slightly.
💡 Pro-Tips for the Best Consistency
Want an Ice Cream Texture? Freeze the containers for 1 to 2 hours instead of refrigerating. It transforms into a scoopable, soft-serve style frozen treat. If left in the freezer longer, just let it sit on the counter for 5–10 minutes before eating.
Would you like to adjust this recipe to emphasize higher healthy fats, or are you looking for a specific macronutrient breakdown?